
Makeup Tutorial For Mature Skin Over 50
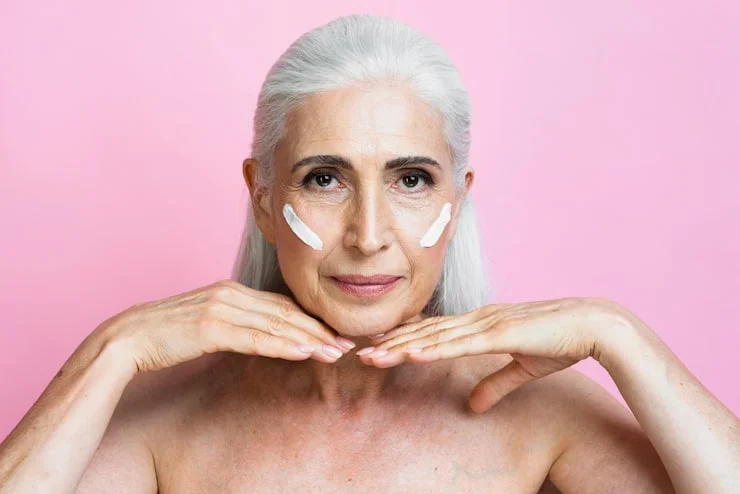
Most makeup advice you find online was written for someone with twenty-year-old skin. The techniques assume your eyelids don't crease, your cheeks don't sag, and your foundation stays put all day. That advice fails you after fifty.
Your skin has changed. It is thinner. It holds less water. Fine lines have settled in places where there used to be smooth surface. The makeup that worked at forty now settles into every crease by noon. This is not a problem with your face. It is a problem with the products and techniques you were taught.
This guide walks through a complete makeup routine built specifically for mature skin. Each step explains what to do, why it works, and what to avoid. By the end, you will know how to create a finished look that lasts and looks like your skin, only better.
Why Your Old Makeup Routine Stopped Working?
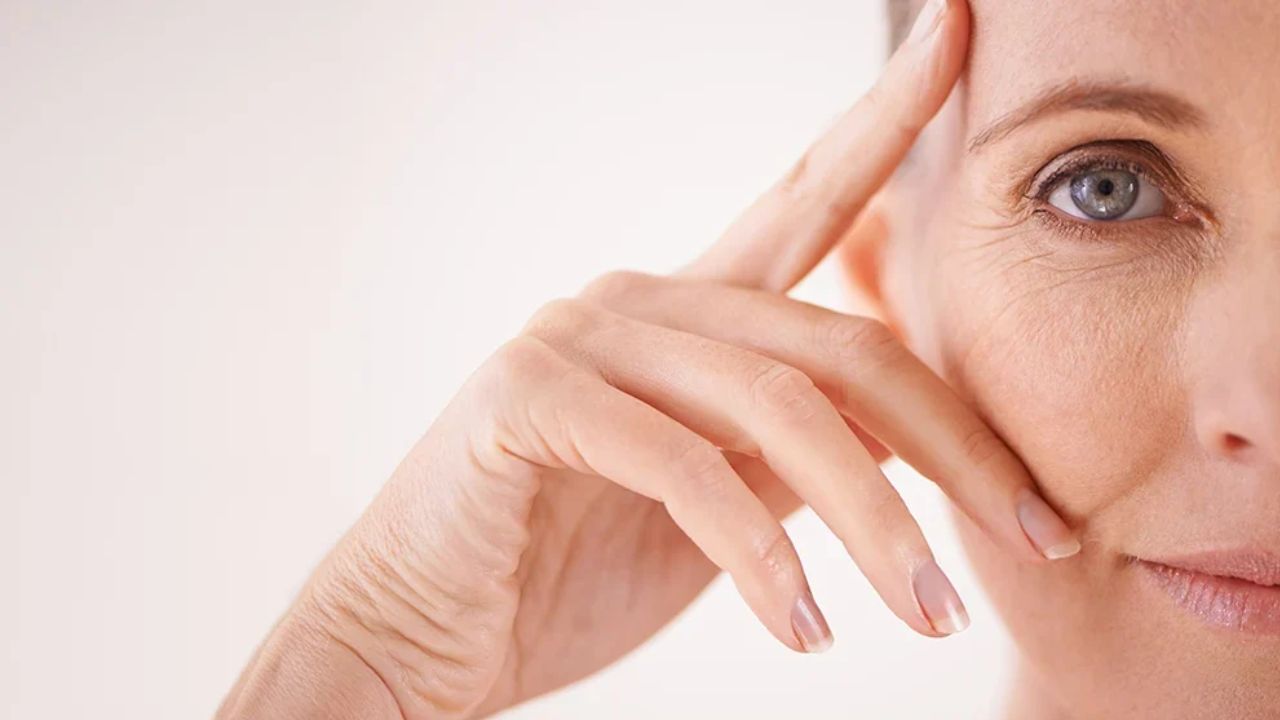
Before the steps, you need to understand what makeup tutorial for mature skin over 50.
As skin ages, it loses the ability to retain water efficiently. This happens in part during menopause, when the skin's moisture barrier weakens . Thinner skin means less padding over blood vessels, so dark circles look darker. Collagen production slows, and the skin loses some of the bounce that kept products sitting on the surface rather than sinking into it.
The practical result: heavy foundation cracks. Matte powder grabs dry patches. Shimmer settles into eyelid creases and makes texture look worse. Products that once blurred now highlight exactly what you want to hide.
Charlotte Tilbury, a makeup artist who has worked with mature clients for decades, puts it simply: you cannot have a beautiful painting without a beautiful canvas . The canvas here is your skin. Everything starts there.
Read Also: Makeup Tutorial For Neutral Skin Tone
Step One: Prep the Skin Like It Matters
Skin prep is not a step you can skip. For mature skin, it is the difference between makeup that lasts and makeup that separates by lunch.
Start with a gentle cleanser. Then apply a hydrating serum while your skin is still slightly damp. Look for ingredients like hyaluronic acid or glycerin. These pull water into the skin and hold it there .
Follow with a moisturizer that suits your skin type. If your skin feels tight after washing, you need something richer. If it feels comfortable, a lighter lotion works fine. The goal is simple: plump the skin so fine lines are less visible before you apply any color.
Wait two minutes. Let the moisturizer absorb. Applying makeup on top of wet product causes slipping and uneven coverage.
Now apply a primer. Laura Geller, a makeup artist who built her brand around mature skin, calls primer non-negotiable . A good primer smooths texture and creates a surface that foundation can grip. Look for one with a blurring effect. Silicone-based primers fill in pores and soft lines, giving you a smoother start .
One note: avoid primers that feel slick or greasy. They cause foundation to slide. You want something that feels like a soft veil, not a coating.
Step Two: Choose Foundation That Breathes
This is where most mature skin routines go wrong. The instinct is to reach for full coverage. You want to hide the discoloration, the spots, the uneven tone. So you buy a thick, matte foundation and apply it everywhere.
That approach backfires. Thick foundation settles into every line. Matte formulas dry out the skin and make texture look more obvious. And full-face coverage flattens the natural dimension of your face, which makes you look older, not younger.
The better approach: use a lightweight foundation with a satin or radiant finish, and apply it only where you need it.
Celebrity makeup artist Kasey Spickard advises avoiding full-matte formulas entirely. They grab onto texture and fine lines, he says . Instead, look for a foundation with a buildable finish and hydrating ingredients. Ceramides, aloe, and hyaluronic acid are good signs on the label.
Application matters as much as the product. Lauren D'Amelio Ventre, a New Jersey makeup artist, rarely covers the entire face. Most people don't need equal coverage everywhere, she explains . Apply a thin layer where you have redness or uneven tone, usually the center of the face, the nose, and the chin. Leave the outer edges of your face mostly bare. Your skin showing through looks more natural than a mask of product.
Use a damp makeup sponge or a dense brush. Tap, don't swirl. Swirling motion pushes product into lines and creates streaks. Tapping presses the foundation into the skin for a smoother finish.
If you need more coverage in specific spots, add a creamy concealer. Apply it after foundation, not before. Use your ring finger to press it gently into the skin. Never rub. Rose-Marie Swift, founder of RMS Beauty, offers a useful rule: correct, don't cover . You are not trying to erase your face. You are trying to even it out.
Step Three: Add Color to Your Cheeks
Blush is the step that brings a face back to life. As skin ages, it loses some of its natural color. A soft flush on the cheeks makes you look awake and healthy.
Cream or gel blush works best for mature skin. These formulas melt into the skin rather than sitting on top of it. They give a diffused, lit-from-within effect that powder cannot match . Powder blush can work, but it tends to emphasize texture if you have any.
For color, peach and apricot tones are flattering on most skin tones. Laura Geller recommends warm pastels for mature skin because they add brightness without looking harsh . Avoid deep berries or bright pinks unless you have a very cool undertone. They can look severe.
Apply the blush on the apples of your cheeks and blend upward toward your temples. Use your fingers or a damp sponge. The warmth of your fingers helps the product melt into the skin. Keep the layer thin. You can always add more, but it is harder to take away.
Step Four: Treat Your Eyes With Care
Eye makeup is where mature skin needs the most adjustment. Eyelid skin loses elasticity. It becomes crepey and heavy. Powder shadows crease. Shimmer emphasizes every line. Harsh eyeliner makes the eye look smaller and the lid look heavier.
Here is what works instead.
Start with an eye primer. This step is not optional. A good primer prevents shadow from sliding into creases and keeps color in place all day . Apply a tiny amount and blend it over the entire lid, up to the brow bone.
For shadow, choose cream formulas with a satin finish. Cream shadows blend easily and give a soft wash of color without looking heavy. A touch of sheen brings light back to the eye area, which tends to look tired and shadowed with age . Avoid glitter and heavy shimmer. These settle into lines and make texture more visible.
Apply one neutral shade over the entire lid. A soft taupe, a warm beige, or a light mauve works for most skin tones. Use your finger or a small brush. Blend the edges so there are no harsh lines.
If you want definition, use a matte shadow slightly darker than your skin tone in the crease. Sweep it in a small windshield-wiper motion just above your natural crease. This adds depth without looking obvious. Matte shadows are better for mature eyes because they recede rather than highlight texture .
Skip heavy eyeliner. A thick, dark line makes the eyelid look heavier and can drag the eye downward. Instead, use a soft pencil in brown or charcoal. Apply it right at the base of your lashes, not above them. Smudge the line slightly with a small brush or your finger. This defines the eye without looking like a drawn line .
Finish with mascara. Choose a nourishing formula rather than a waterproof one. Waterproof mascara dries out lashes and can be difficult to remove without tugging at delicate skin. Wiggle the wand at the base of your lashes and sweep upward. One coat is enough. Two coats can clump, and clumpy lashes look makeup tutorial for mature skin over 50.
You May Also Like: Natural Makeup Tutorial For Beginners With No Tools
Step Five: Define Your Brows
Eyebrows frame the face. As we age, brow hair can thin and lighten. Filling them in makes a significant difference in how the whole face looks, but the technique matters.
Avoid harsh, drawn-on lines. The goal is natural definition, not an Instagram brow.
Use a pencil that matches your hair color, or go one shade lighter. Darker pencils look severe on mature skin. Use short, light strokes in the direction of hair growth. Fill in sparse areas only. Leave the rest of the brow as it is .
Brush through with a spoolie or a clean mascara wand. This softens the pencil and blends it with your natural hair. If you want extra hold, a clear brow gel keeps things in place without adding color.
Step Six: Finish With Lips
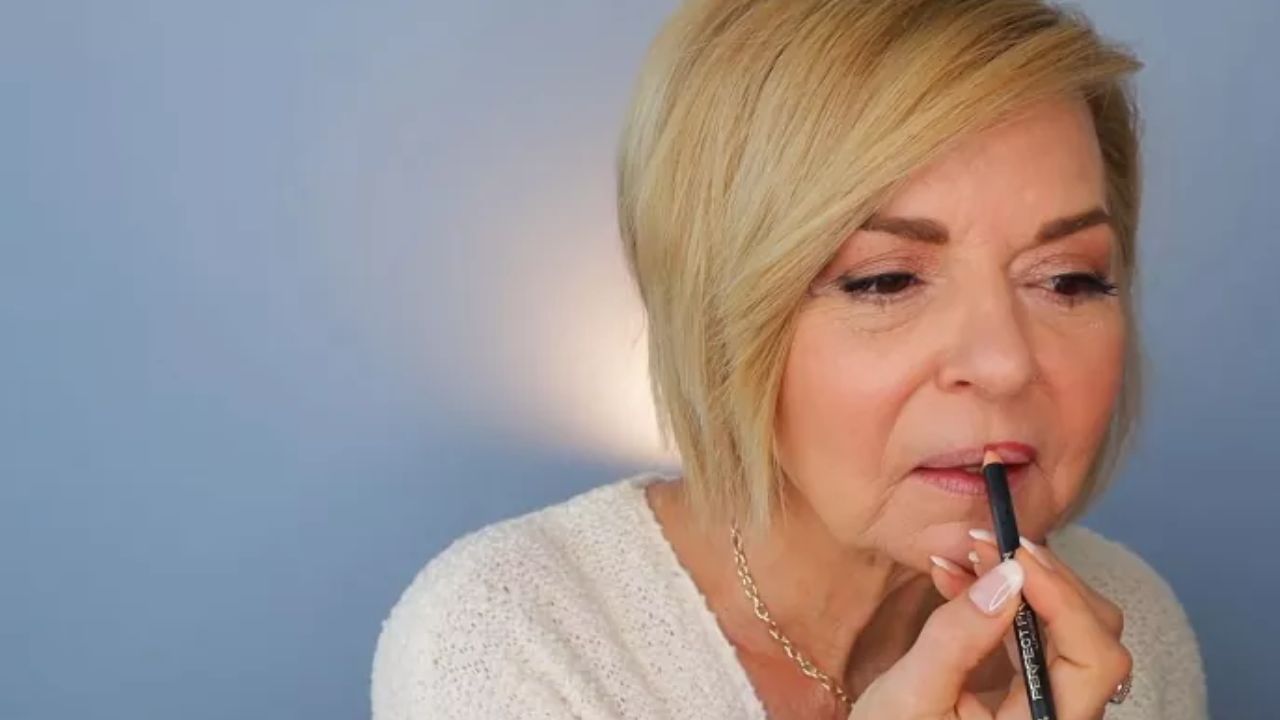
Lip color is the final step, and it is where you can have some fun. But mature lips need moisture. Lip volume decreases with age, and lip lines become more visible. Dry, matte lipstick makes both problems worse.
Choose a hydrating formula. A sheer lipstick, a tinted balm, or a creamy lipstick all work. Avoid long-wear matte liquid lipsticks. They dry out the lips and settle into lines .
For color, soft neutrals and warm pinks are flattering and easy to wear. Deep reds and dark berries can look harsh on mature features, and they tend to make thin lips look thinner . If you love a bold lip, save it for evening. For daytime, a rosy nude or a soft coral keeps things fresh.
Apply directly from the tube or with a brush. If you want definition, use a lip pencil that matches your natural lip color. Line just the outer edge, then blend inward. Do not overdraw. Overdrawn lips look obvious and unnatural.
Common Mistakes to Avoid
Even with the right steps, a few habits can undermine the whole routine. Here is what to watch for.
Applying foundation all over the face. You probably do not need it everywhere. Spot-apply where you need coverage and let the rest of your skin show .
Using powder to set everything. Heavy powder settles into lines and makes skin look flat. If you have oily skin, use a light dusting of translucent powder only on the T-zone. Leave the cheeks and under-eyes alone. For dry skin, skip powder entirely.
Choosing shimmery eyeshadow. Shimmer catches the light in a way that highlights texture. Satin and matte finishes are more forgiving .
Skipping primer because it feels like an extra step. Primer is the difference between makeup that lasts and makeup that slides. It takes thirty seconds. Use it.
Tugging at the skin. Whether you are applying concealer, blending shadow, or removing makeup, be gentle. Tugging stretches the skin and contributes to laxity over time.
Frequently Asked Questions
What is the most important step in a makeup routine for over 50?
Skin prep. Hydration and primer create the base that everything else sits on. Without it, even expensive foundation will settle into lines and look patchy .
Should I stop using powder after 50?
Not necessarily, but use it sparingly. A light dusting of translucent powder on the T-zone can control shine without drying out the rest of the face. Avoid pressed powders with color, which can look heavy.
How do I stop foundation from settling into fine lines?
Use a hydrating, lightweight formula. Apply thin layers and tap with a damp sponge rather than swirling. And prep the skin with moisturizer and primer first. Thick layers of any product will migrate into lines as your face moves throughout the day .
What eyeshadow finish is best for mature eyes?
Satin or matte. These finishes add color and definition without highlighting crepey texture. Cream formulas are easier to blend and less likely to crease than powders .
Can I still wear bold lipstick after 50?
Yes, but choose the formula carefully. A hydrating cream lipstick in a bold color works better than a dry matte liquid. Apply a balm underneath for extra moisture. For everyday wear, softer neutrals are more flattering.
Conclusion
Makeup after fifty is not about hiding your age. It is about working with your skin instead of against it. The right products and the right techniques make your face look like yours, only more polished and more awake.
Start with hydration. Choose light layers over heavy coverage. Use cream formulas where you can. Avoid harsh lines and shimmer that catches texture. Keep things soft and blended.