Bridal Makeup Tutorial For Dusky Skin
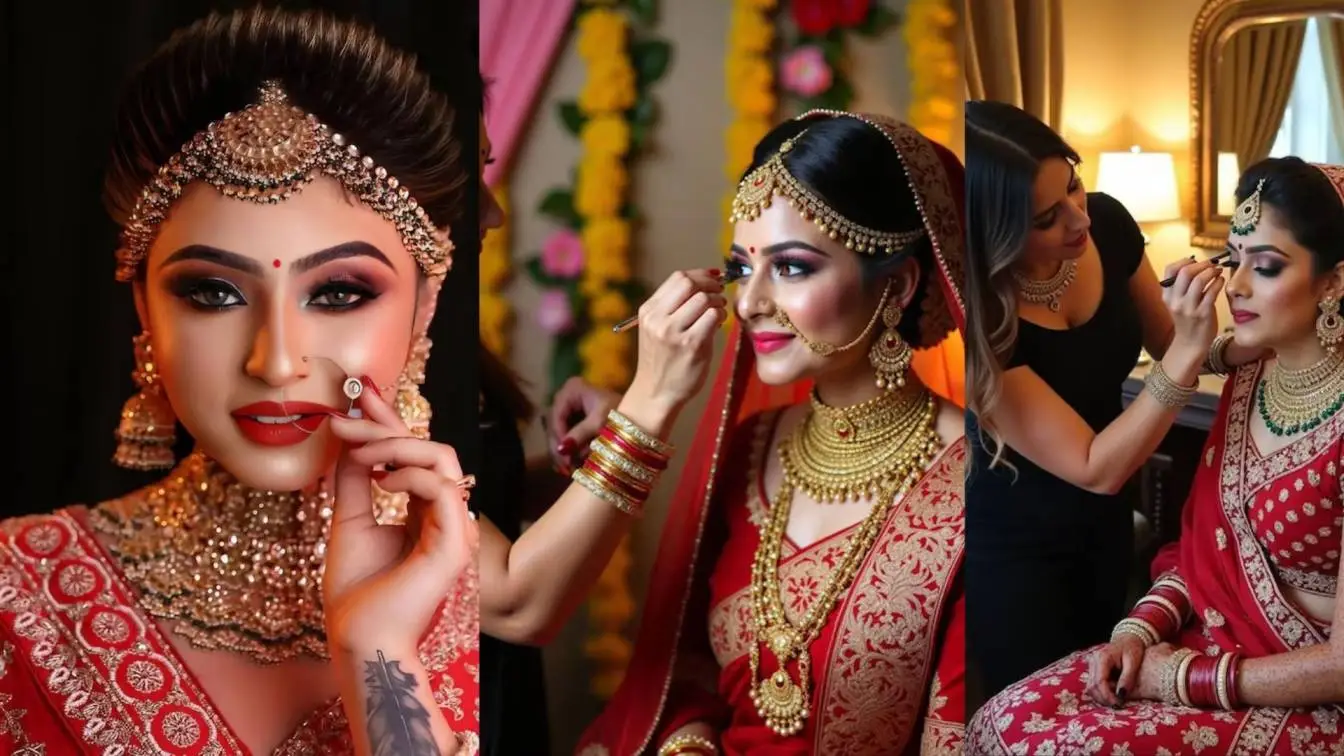
I want to talk about something real. You have dusky skin. You are getting married. And you are scared about makeup. I was scared too. Every bridal makeup tutorial for dusky skin I watched showed me girls with lighter skin. Or they used products I could not find. Or they said things like "you need to brighten up." That made me feel bad. So I stopped watching those. I started doing my own thing. And now I want to tell you exactly what I did. This is not a fancy guide. This is me talking to you like you are my sister.
First thing first. Your dusky skin does not need fixing. It needs the right colors. Thats all. Thats the whole secret.
The Day I Messed Up My Own Bridal Makeup
Let me tell you a story. One time I did my own bridal makeup practice at home. I used a foundation that was two shades lighter. I thought it will make me look clean. You know what happened? I looked like a ghost. A gray ghost. My face was one color. My neck was another color. My mother laughed. She does not laugh a lot. But she laughed that day. That day I learned. Do not go lighter. Never go lighter.
So in this bridal makeup tutorial for dusky skin, I will tell you only what works. I will not use big words. I will not pretend I am a doctor. I am just a girl who made mistakes and then fixed them.
Read Also: Soft Glam Makeup Tutorial For Hooded Eyes
Before You Put Anything On Your Face
You cannot just start putting makeup. Your face needs to be ready. Think of it like this. You cannot paint a dirty wall. Same thing here. Wash your face with water. Not hot water. Not cold water. Just normal water. Use a simple soap or face wash. Nothing fancy. Dry your face with a clean cloth. But do not rub hard. Just pat.
Then put moisturizer. Any moisturizer is fine. Put it everywhere. On your cheeks. On your nose. On your forehead. On your neck. Wait for two minutes. During those two minutes you can drink water or fix your hair. Just let the moisturizer sit. Why do this? Because dusky skin can look dry in some spots. Especially under the eyes. Dry skin makes makeup look cracked. Cracked makeup looks bad in photos. You will look at your wedding photos for years. So do the moisturizer.
The Orange Thing That Changed Everything
Okay listen. This is the most important part of this bridal makeup tutorial for dusky skin. I am not joking.
You need a color corrector. And for dusky skin, the color corrector must be orange or peach. Not green. Not purple. Orange.
Why orange? Because orange cancels out dark circles and dark spots. Most of us have dark circles. We stay up late. We worry about the wedding. The dark circles show. A normal concealer will not hide them well. But if you put a tiny bit of orange first, then put concealer on top, the dark circles disappear.
I use my finger to put the orange corrector. Just a little bit. Under my eyes. On any dark spot on my face. Pat it. Do not rub. Let it sit for thirty seconds.
You will look a little funny with orange patches. Thats okay. The next step will cover it.
Picking Your Foundation
This is where most brides get lost. I got lost too. So many bottles. So many shades. What do you pick?
Here is the simple rule. Do not pick a foundation by looking at your hand. Your hand is a different color than your face. Pick by looking at your jawline. Take the bottle. Put one small drop on your jaw. Go to a window. Look in a small mirror. If the foundation disappears into your skin, that is your shade. If you can see a line, it is the wrong shade.
Also pick a foundation that says warm or golden or tan on it. Do not pick one that says pink or cool or porcelain. Those will look ashy on you.
I know you want to look bright. I know that. But bright does not mean light. Bright means even skin. Even skin with the right glow. You can be dark and bright at the same time. Think of a clean dark table. It shines. Same thing.
When you buy your foundation, buy it three or four weeks before the wedding. Wear it at home for one full day. See how it looks in the morning. See how it looks in the afternoon. See how it looks under your house lights. If something looks wrong, you still have time to buy another one.
Putting Foundation On Your Face
Take a little bit of foundation. Put small dots on your face. On your left cheek. On your right cheek. On your forehead. On your nose. On your chin. Then take a wet sponge. Not a dry sponge. Wet it first and then squeeze all the water out. Use that sponge to dab the foundation into your skin. Do not drag the sponge. Do not wipe it. Just dab dab dab.
Make sure you put foundation on your neck too. And near your ears. And near your hairline. No sharp lines. Everything must blend. If you have a spot that still shows, put a little more foundation only on that spot. But do not put a thick layer everywhere. Thick foundation looks like a mask. You want to look like you, not like a mask.
The Powder Step
After foundation, your face will be a little wet. You need powder to dry it and lock it.
Use a loose powder. But here is the thing. The powder must be transparent or yellow. Never use white powder. White powder will sit on top of your dusky skin and look like flour. I have seen this happen. It is not nice. Take a big brush. Dip it in the powder. Tap the brush on the side of the container to remove extra powder. Then gently press the powder on your face. Do not swirl. Press. Pay more attention under your eyes. And around your nose. And on your chin. These areas get oily fast.
Now your base is done. Your face looks even. It looks like skin. But better.
Your Eyebrows
Your eyebrows are important. Do not ignore them. But also do not make them too dark. If you have black hair, use a dark brown brow pencil. If you have brown hair, use a medium brown. Do not use black. Black eyebrows look too hard on the face. Fill in only the empty spots. Make small lines like hair. Do not draw one long line. That looks fake. At the end, brush your eyebrows up with a clean brush. This makes them look soft.
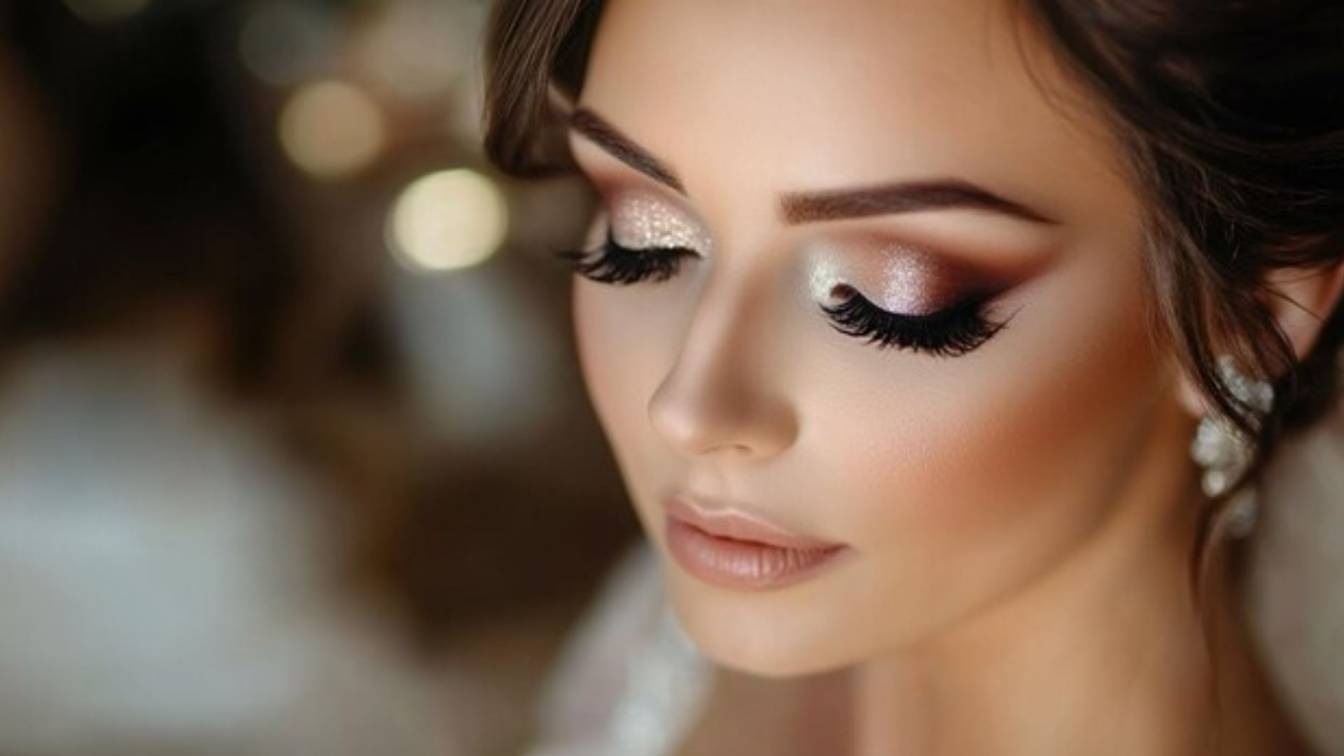
Eye Makeup That Works On Dusky Skin
I love doing eye makeup. But for a long time, I used the wrong colors. I used silver. I used light blue. They looked terrible. They looked like dirt on my eyes. I am being honest. So for this bridal makeup tutorial for dusky skin, I will tell you the colors that work. Gold works. Bronze works. Copper works. Rust works. Deep brown works. Thats it. Stick to these.
Here is what I do. I put a little concealer on my eyelid first. Then I take a gold eyeshadow. I put it on the middle of my eyelid. Then I take a dark brown eyeshadow. I put it on the outer corner of my eye. Then I blend where the two colors meet. I use my finger to blend. Fingers work better than brushes sometimes. Then I take a very small brush with a little bit of shimmer. The shimmer should be gold or champagne. I put that in the inner corner of my eye. Near my nose. This makes my eyes look open and awake.
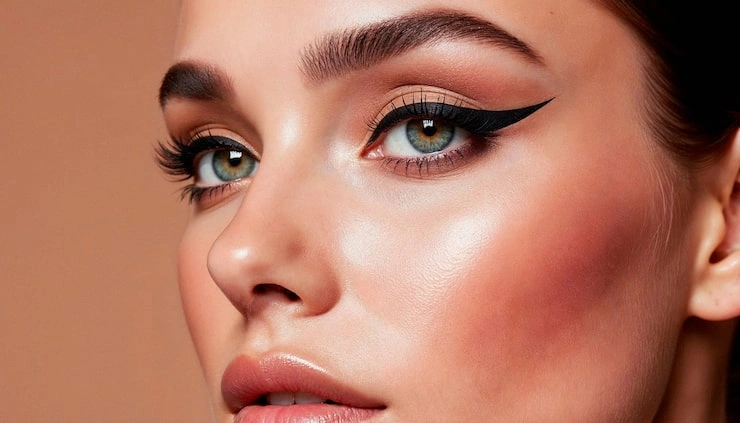
Then I take a black eyeliner. I draw a thin line on my upper eyelid. Right near my lashes. I make a small line going up at the end. Thats the wing. A small wing. For the lower eyelid, I do not use black. Black on the lower lid looks too much. I use a brown pencil on the lower lid. Just on the outer half. Not all the way to the inner corner.
Then mascara. Two coats. If you want false lashes, pick the ones that are longer in the middle. That shape opens up your eyes.
Blush Is Your Friend
Some women with dusky skin skip blush. They think it will not show. Or they think it looks weird. But blush brings your face to life. Pick a brick red blush. Or a terracotta blush. Or a deep peach blush. Do not pick baby pink. Do not pick light coral. They will not show up. Smile in the mirror. See the round part of your cheeks. Put the blush there. Blend it back toward your hairline. Use a light hand. You can always add more later. When you put the right blush on dusky skin, it looks like you just came from a walk in the sun. It looks healthy. It looks happy.
You May Also Like: Natural Makeup Tutorial For Mature Skin Over 40
Highlighter But No Ashiness
Highlighter is supposed to make you glow. But many highlighters have a white base. White base on dusky skin looks like a stripe. A gray stripe. Not good.
You need a gold highlighter. Or a bronze highlighter. Put a tiny bit on the top of your cheekbones. Put a tiny bit on the bridge of your nose. Put a tiny bit just above your eyebrows.
Do not put highlighter everywhere. Too much highlighter looks like sweat. And not the good kind.
When the light hits your face, the gold will shine softly. Your wedding photos will catch that shine. It looks beautiful.
The Lip Color Question
I get asked this a lot. What lip color for dusky skin?
Here is the answer. Deep red works. Maroon works. Berry works. Brown nude works.
What does not work? Pale pink. Bright orange pink. Light peach. These colors will sit on your lips and look separate from your face. Like you put someone elses lips on your face.
Before lipstick, scrub your lips with a soft cloth. Just gently. Then put lip balm. Wait two minutes. Then wipe off the extra balm. Then take a lip liner that matches your lipstick. Line your lips. Then fill your lips with lipstick.
Blot once with a tissue. Then put a second layer. This makes the color stay for a long time. You will eat food. You will drink water. The color will still be there.
If you want a nude lip for a day wedding, pick a brown nude. Not a pink nude. A pink nude will wash you out. A brown nude will look like your lips but richer.
Lock Everything With A Spray
After all this work, you need to lock it. Use a setting spray. Hold the bottle away from your face. Close your eyes. Spray two or three times. Let it dry on its own. Do not touch your face.
The spray will take away any powdery look. Your makeup will look like skin. It will also stay through sweat and tears and hugs. Brides cry. Thats fine. Your makeup will stay.
Some Small But Real Tips
I want to tell you a few more things. These are small but they matter.
Do not bake your under eyes. Baking means putting a lot of powder and letting it sit. On dusky skin, baking makes the under eyes look gray. I have seen it happen. Just use a little powder. Thats enough.
Keep blotting paper in your bag. Not more powder. Blotting paper. When your face gets oily, press the paper on the oily spots. The oil goes away but your makeup stays. If you put more powder, your face will look heavy.
Do a full trial one month before the wedding. Wear the makeup for eight hours. Take photos in the morning sun. Take photos in the evening inside your house. Take photos with flash. See what looks good and what looks bad. Change what you do not like.
What Not To Do?
Do not try a new face cream or a new face mask one week before the wedding. Your skin might get angry. You might get red bumps. That is the last thing you want.
Do not use a foundation that has SPF. I know SPF is good for daily life. But for wedding photos at night, SPF flashes back white. Your face will look white in every photo with flash. You do not want that.
Do not listen to people who say you need to look fair. You do not. You are dusky. You are beautiful. The right makeup will make you look like the best version of you. Not a different you.
Conclusion
My cousin got married last year. She has dusky skin. Darker than me. She went to a makeup artist who told her she needs to look "bright." That artist put a foundation that was three shades lighter. My cousin looked gray in all her photos. She was so sad. She still does not like looking at her wedding album.
I do not want that for you. That is why I wrote this. That is why this bridal makeup tutorial for dusky skin is so direct. I want you to look at your photos and feel happy. I want you to see yourself, not a ghost version of yourself.
You can do this. You can do your own makeup or you can take this to a makeup artist and tell them this is what you want. Either way, you will look like a bride. A real bride. A dusky bride who glows.